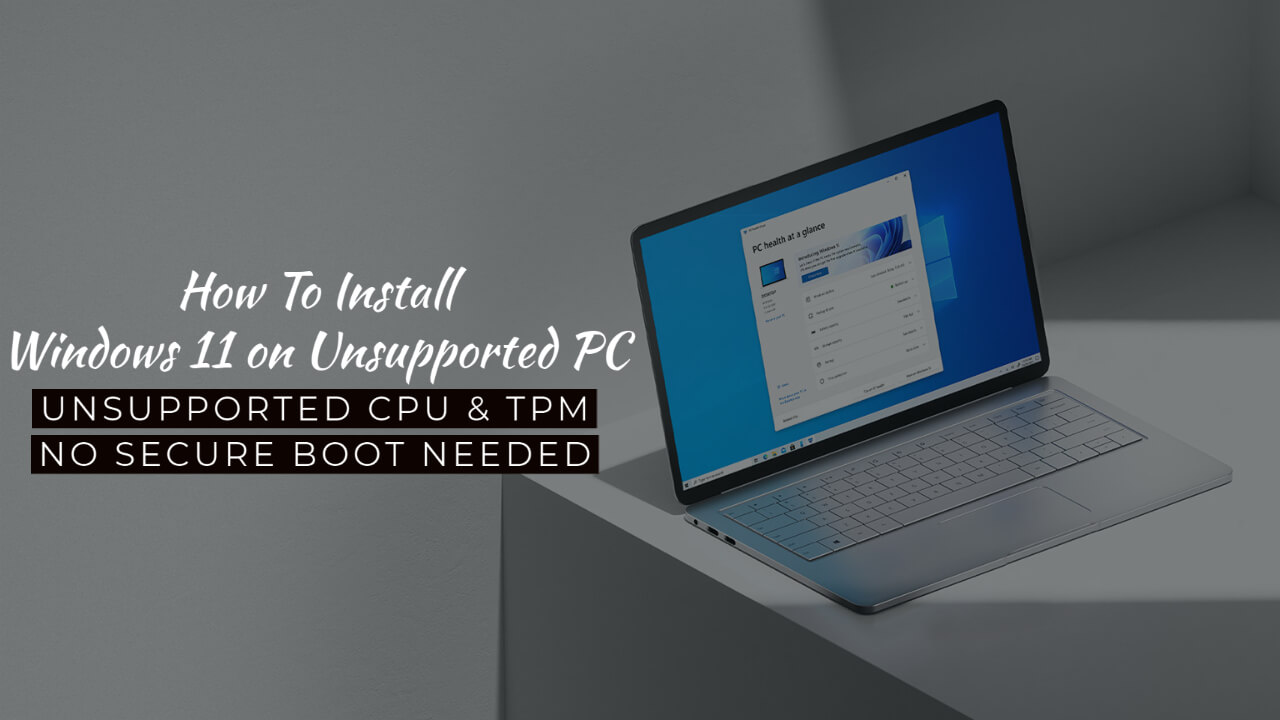
After days of struggle, and loads of research, I have finally figured out the simplest and flawless way to install the new Windows 11 on any sort of unsupported PC or laptop. I am confident in this method because I have installed it on 2 laptops and 2 PCs, including my own PC and laptop, and it has been working flawlessly with no errors whatsoever.

And this method is incredibly simple and fast. You don t need the latest processor or TPM or even secure boot. It will work on anything. You don t need to do any sort of coding or cracking or even an additional software for it. And don t worry, you won t lose any of your data, in fact, even the location of your icons will stay the same.
Let’s start the process to install Windows 11 on Unsupported PC
1. Download Windows 11 ISO

The first thing you need to do is download the ISO file from Microsoft s official website, it’s absolutely free, you don t need to pay for anything, It s around 5GB.
2. Create Folder and Extract
After it is downloaded, Now create a folder anywhere and extract the Windows 11 ISO files into that.
3. Download DLL File
Now download the following DLL file named appraiserres.
4. Copy and Paste DLL File in ‘sources’


Now copy this appraiserres.dll file, and then go to the folder you just made, open the folder named ‘sources’ and then just paste it there and replace it.
This is actually the file that contains the hardware restrictions codes, but the file that I have replaced with doesn’t have those. We’ve deleted those code lines that restrict you from upgrading.
You can even delete the restriction codes yourself by searching all the lines with the word "CPU" and "TPM" and delete them all by yourself, but I don't suggest that, it's too much of a hassle, plus you may mess up a little.
5. Windows 11 Setup

After you have replaced, go back to your folder, and just double click on the setup and then click install, and accept the terms and conditions after that, and that is literally it. I m not kidding, It is that simple.
It’s gonna start to install automatically. It can take around a couple hours, it of course depends on how fast your PC is. So, be patient, it will take some time.
6. Congratulations! Windows 11 Installed

And after it is done installing, Viola! Windows 11 will be installed on your PC. And honestly speaking, I just love it! The new icons, animations, features and everything about this Windows 11 is just so much better and refined. I have been enjoying using it. Some people will think that they won’t receive updates, but I have received plenty of those. And I haven’t faced any sort of major bugs or something like that. So, go ahead and install it on your PCs and laptops.
